How to run demos on the boards
This is a video of the setup on the Kria KV260 board. For the Arty Z7-20 the plug-in camera flow is the same.
Miscellaneous requirements
Before running the solution on the board of your choice, firstly you have to prepare:
- 2D USB Camera (Logitech C310HD or Logitech C505 camera recommended);
- 3D Camera PMD Flexx2_VGA;
- USB 3.2 capable USB Type-C Male to USB Type-A Male Data cable: this cable must be a USB 3.2 Data cable, not simply a charging cable. The correct cable is noticeably thick (an example of one cable model which works). Please note that if your workstation’s USB 3.2 connectors use USB Type-C instead of Type-A, then you will need a USB 3.2 capable USB Type-C to USB Type-C Data cable;
- MicroSD to SD adapter;
- Small tripod with clamp to hold cameras;
- Ethernet cable;
- Network router;
How to setup the cameras
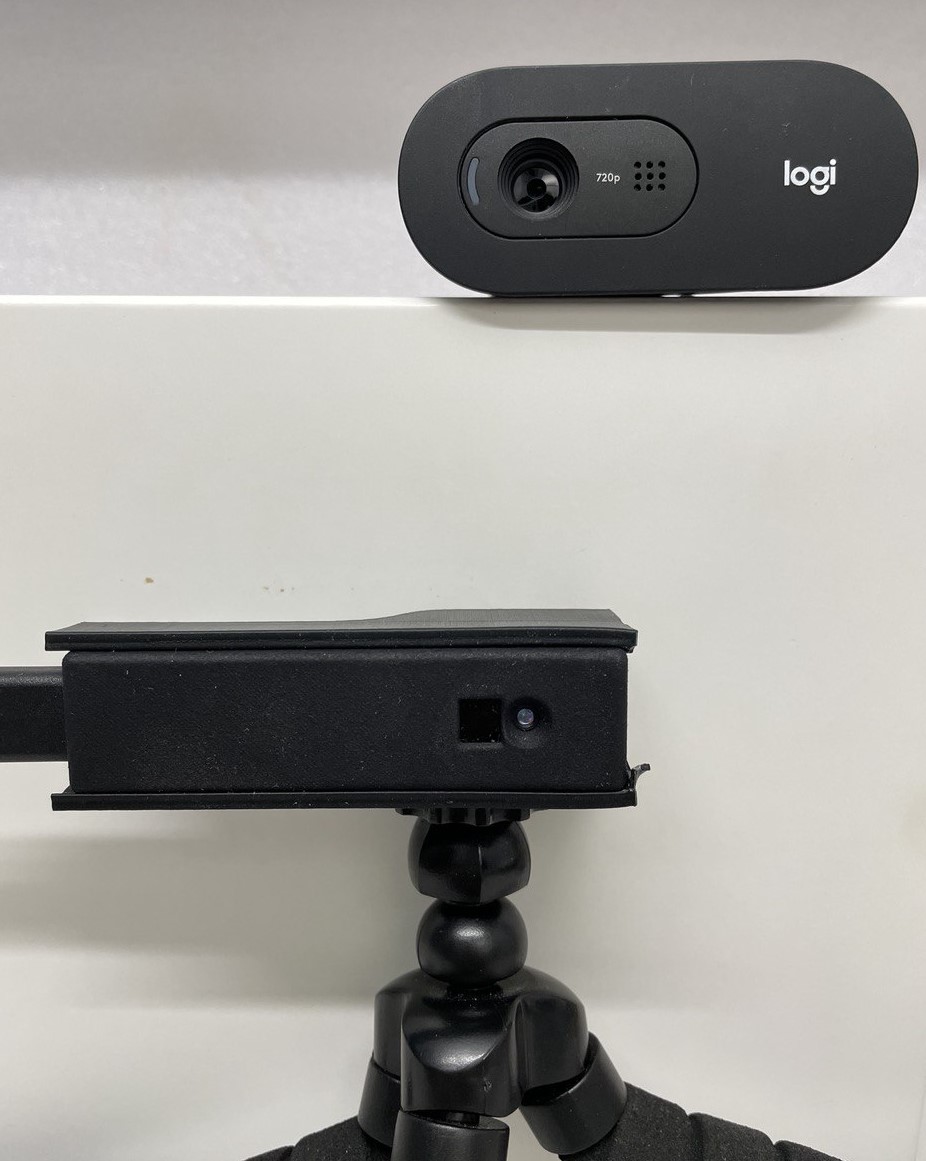
The following photo shows the camera setup and how the face should be placed. The important factor is that the two cameras are "parallel" and looking in the same direction (it works better if the two lens are placed one on top of each other). The face should be placed in the right distance (about 20 to 30 centimeters) away from the cameras. The face (and possibly the eyes) must look in front of the cameras.
Make sure you place the 3D camera with the cable on its left, as you can see in the photo at the end of this paragraph.
To recap, the key points to run correctly the demo are:
- The two camera sensors must be aligned;
- The face should be placed 20 to 30 centimeters away from the cameras;
- The face must be straight to both cameras;

Fig. 2 - Cameras Setup
Running examples
Moving forward, we provide some instructions about running the examples on these two boards:
Running on Windows
If you are planning to run the demo in a Windows environment, please be sure to have all requirements needed and described in the Hardware & Software requirements chapter.