Hardware & Software requirements
The SmartLock solution uses different requirements, both software and hardware. In this section all these needs will be explained.
Hardware requirements
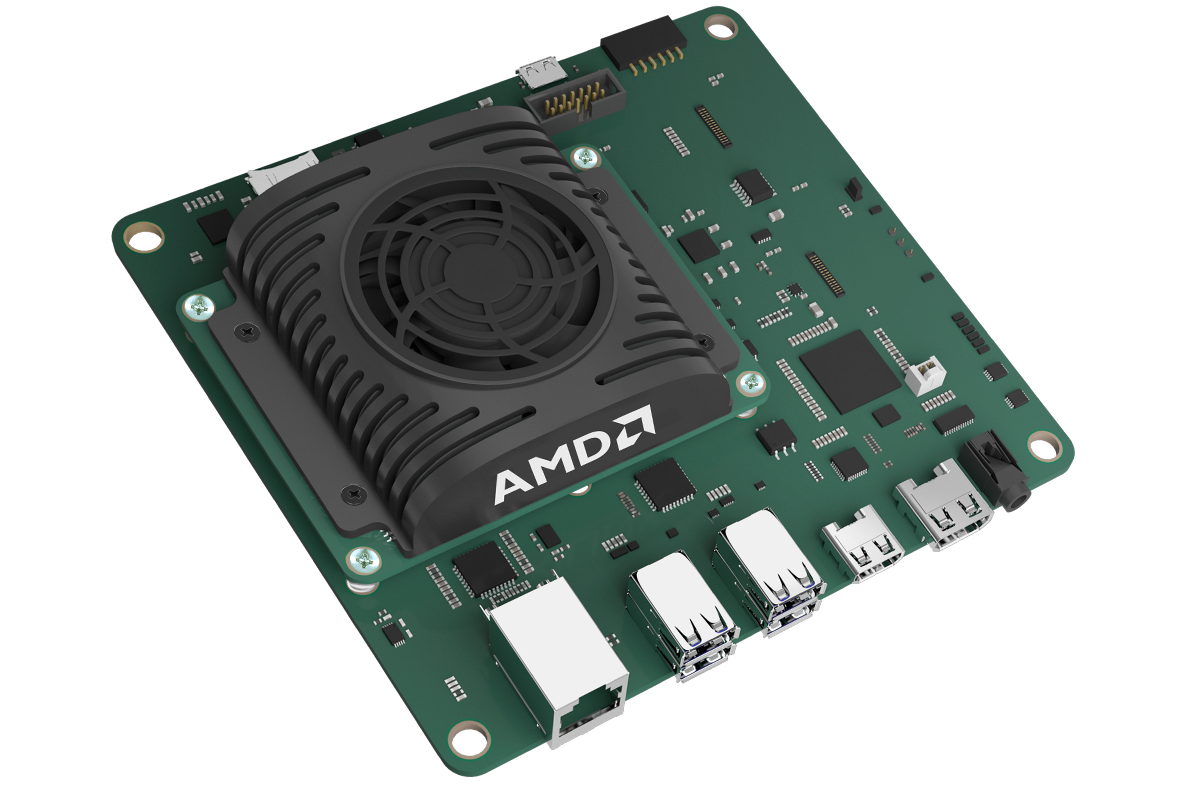
AMD Kria™ KV260 Board
The SmartLock solution proposed here was built on the AMD Kria™ KV260 board:
- Kria™ KV260: The Kria™ KV260 is built for advanced vision application development without requiring complex hardware design knowledge. For more information, please visit the official website;

Fig. 1 - Kria™ KV260
RGB-IR Camera
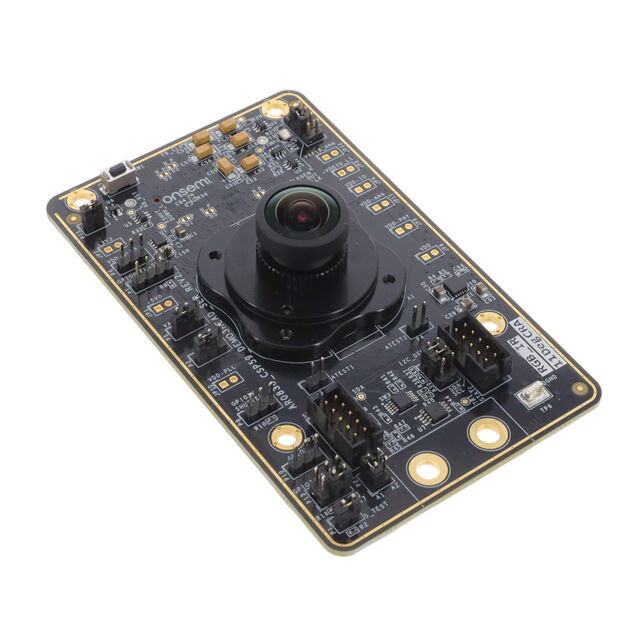
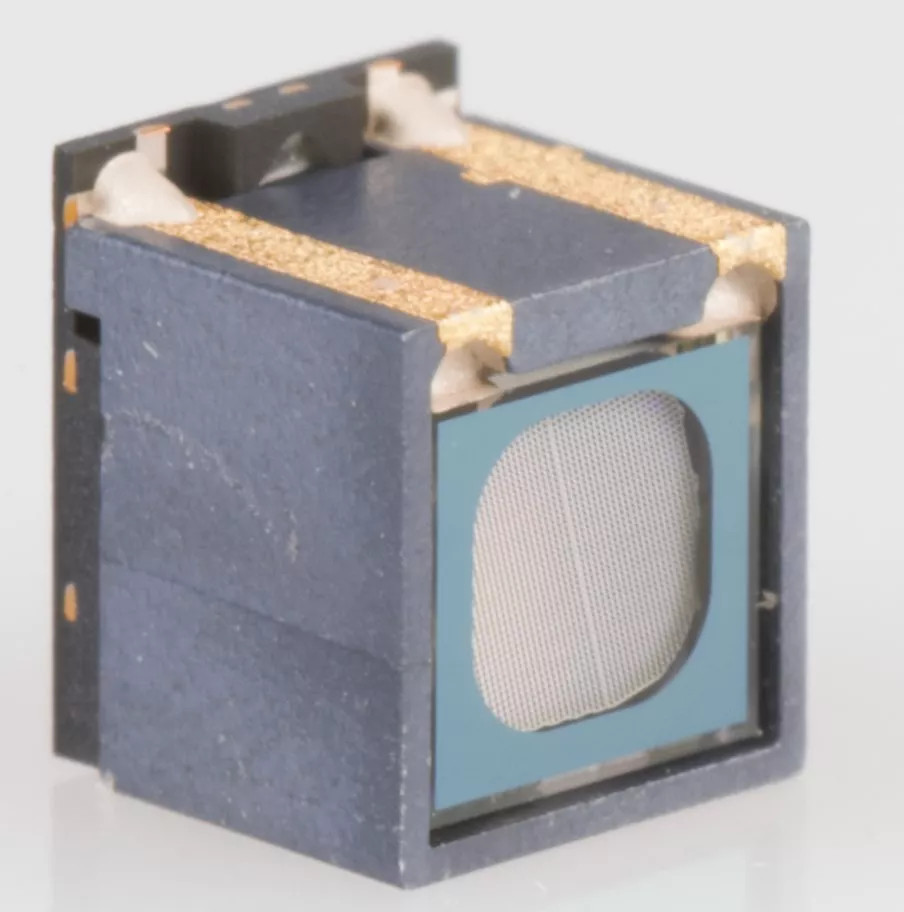
The architecture of SmartLock solution is based on a RGB-IR camera provided by onsemi and a VCSEL dot projector provided by ams OSRAM. The dot projector is a VCSEL (Vertical Cavity Surface Emitting Laser) projector and is needed to support the reconstruction of the real human face:
- onsemi Demo3 Kit with its own AR0830CS RGB-IR sensor;
- ams OSRAM BELAGO1.1 VCSEL dot projector with its driver board (ams OSRAM AS1170);

|

|
|
Fig. 2 - onsemi AR0830CS RGB-IR sensor |
Fig. 3 - ams OSRAM BELAGO1.1 dot projector |
Miscellaneous
Some other miscellaneous are required:
- MicroSD card: it must be greater than or equal to 32GB;
- MicroSD to USB adapter: to burn the image;
- Full-HD HDMI Monitor and HDMI cable: to set up and start up run the SmartLock solution;
- Keyboard and mouse kit: to run the commands into the AMD Kria™ KV260 board;
The whole hardware setup should be very similar to the image below:

- onsemi Demo3 Kit with AR0830CS RGB-IR sensor mounted aboard;
- A stable tripod to install the Demo3 Kit (one of your choice is ok, this model is the Neewer T160A);
- USB 3.0 cable provided with the Demo3 Kit;
- An AMD Kria™ KV260 board with its microSD card;
- HDMI cable to connect the AMD Kria™ KV260 board to your FullHD monitor;
- ams OSRAM BELAGO1.1 VCSEL dot projector with its driver board (ams OSRAM AS1170). Please note that the component in the photo above is in a hardware development state, the sample you have should be different;
The photo does not include the screen and the keyboard and mouse kit to control the AMD Kria™ KV260 board;
Software requirements
There are some software that need to be installed into your PC in order to run the solution successfully. First of all, you need to have at least 32GB free on your disk in order to download the image to be burnt (it is more or less 27GB big). To burn the image, you need:
- 7Zip: to unarchive the downloaded image files;
- Balena Etcher: to burn the image. You can use one of your choice, but this one is strongly recommended;
OS Image Request
At this point, you have to download the latest release of the image to burn into the SD card of the AMD Kria™ KV260 board. To do so, please send a request email to MakarenaLabs. Be sure to have at least 32GB of free space in your PC in order to download all the files.