Initial setup configuration
In this chapter is explained how to setup the hardware to run the example on the AMD Kria™ KV260 board. There are some preliminary steps in order to have the setup completely up and running, that they are described in the section below.
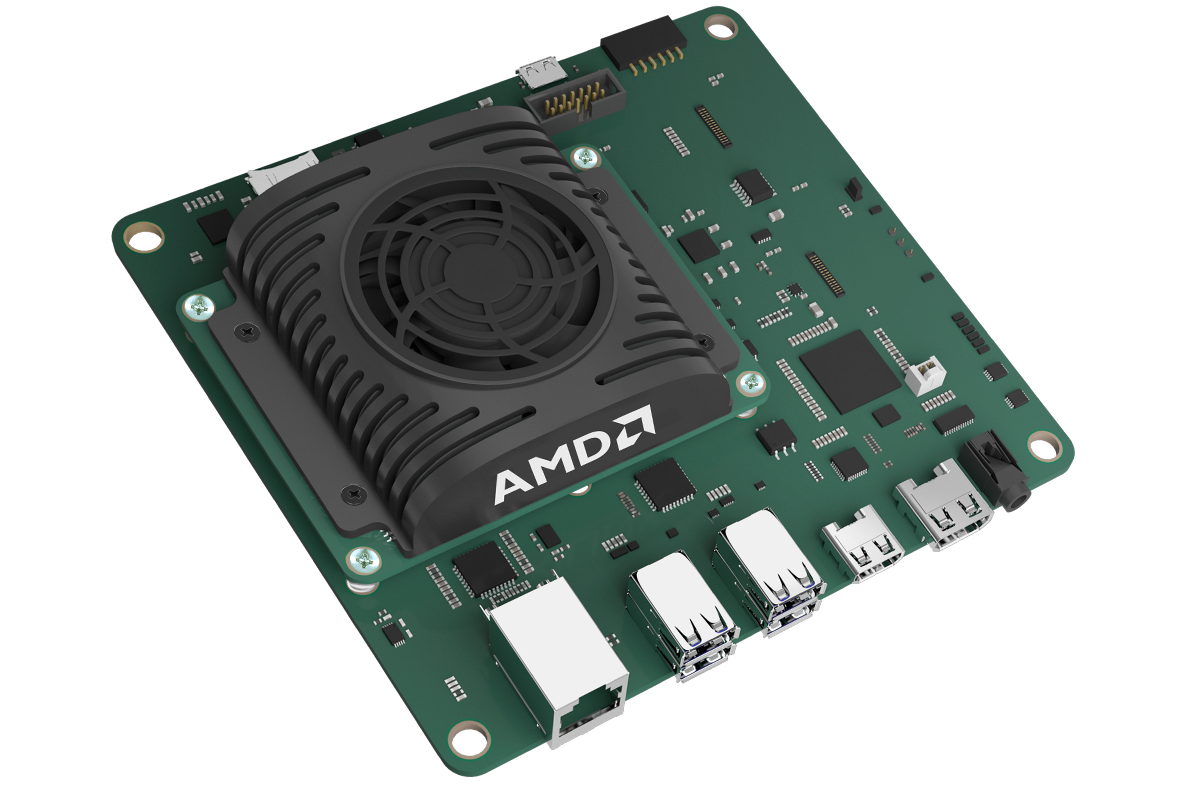
Fig. 1 - AMD Kria™ KV260
SmartLock Kit
If you received the SmartLock kit, please follow this section. Otherwise, please go ahead with the Preliminary actions chapter.
Your kit is composed by:
- Black 3D printed SmartLock box;
- AMD Kria™ KV260 Development Kit with 32GB microSD card. It is already flashed with the new version of the SmartLock Ubuntu Image (v3.2.0);
- AMD Development Tools Basic Accessory for the Kria™ KV260;
3D SmartLock Box Unboxing
The video below is showing you the content of the box you received. As in the packaging list paper, you will find:
- A mini tripod stand in the black bag;
- An USB 3.0 cable to connect the onsemi Demo 3 kit to the AMD Kria™ KV260 board;
- An Type-A Type-A USB cable to power on the dot projector (VCSEL);
- The black box of the SmartLock (3D printed and designed by MakarenaLabs), which contains:
As said before, the AMD Kria™ KV260 is already equipped with the flashed microSD card with SmartLock Ubuntu Image v3.2.0, so you can jump to Board connections chapter.
Preliminary actions
At this step, you should have completed all the requirements provided in the section Hardware & Software requirements. If so, you should have this setup:
- An AMD Kria™ KV260 board with the flashed SD card using the image provided by MakarenaLabs;
- The Demo 3 Development Kit provided by onsemi with the AR0830CS RGB-IR sensor installed on board and its own USB 3.0 cable;
- The dot projector in the right position as near as possible to the 2D sensor;
- Your FullHD monitor and the keyboard/mouse kit connected to the AMD Kria™ KV260;
Image File Installation
Install the OS following these steps:
Windows version
- Download the MakarenaLabs image. They are some files to be merged together with 7Zip;
- Merge the downloaded image files into a single image file;
- Verify the SHA-256 hash of the image file. This will ensure that no errors occurred in the transmission and merge of
the files:
- Click Search and run
powershell. (Note:cmdwill not work); - Navigate to the directory containing the image file;
- Enter
Get-FileHash <filename>; - Wait 15 to 30 seconds;
- The hash value will appear;
- Click Search and run
- Flash the MakarenaLabs image file to the microSD card with Balena Etcher. It must be flashed as a boot image;
Linux version
- Download the MakarenaLabs image. They are some files to be merged together with 7Zip;
- Merge the downloaded image files into a single image file;
- Verify the SHA-256 hash of the image file. This will ensure that no errors occurred in the transmission and merge of
the files:
- Open the terminal searching on the Linux drawer
Terminalor typingCtrl+Alt+T; - Navigate to the directory containing the image file;
- Enter
sha256sum <filename>; - Wait 15 to 30 seconds;
- The hash value will appear;
- Open the terminal searching on the Linux drawer
- Flash the MakarenaLabs image file to the microSD card with Balena Etcher. It must be flashed as a boot image;
You can check here the integrity of the image file writing in the field the hash value you got in the step 3.5 of the
previous list:
If the checksum validation is passed, the image is successfully flashed, and you can continue with the next steps.
Board connection
Now, you are ready to start up the board. To do so, insert the newly flashed SD card into the AMD Kria™ KV260 and connect the HDMI cable into the dedicated port. Now, you can connect the power cable to the connector to boot up the board.
NOTE: insert the HDMI cable before the power connector, otherwise you cannot be able to see anything on the screen. So, the steps are:
- Insert the flashed SD card;
- Connect the AMD Kria™ KV260 to your monitor via HDMI cable;
- Connect the power supply to the board in order to power it.
When the Kria boots, please check the three LEDs near the fan. The center light should blink and the other two lights should be solid when the board has successfully booted. You should be now in the login screen of Ubuntu 22.04.
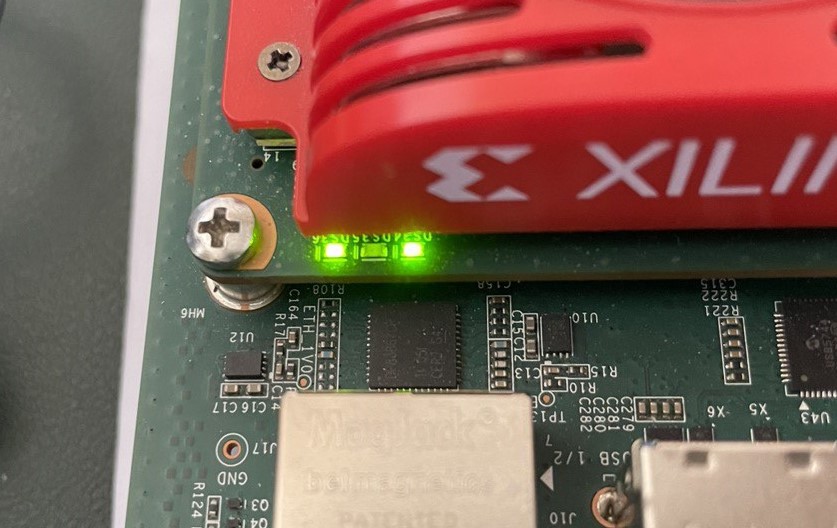
Fig. 2 - Kria KV260 booting LEDs
Log into the ubuntu account using the password makarenalabs. Now, you should see the desktop.
At this step, you are ready to connect the SmartLock Box using the USB cables provided in the kit.
USB Connections
Connect the blue and the black cables into the USB hub on the right of the AMD Kria™ KV260
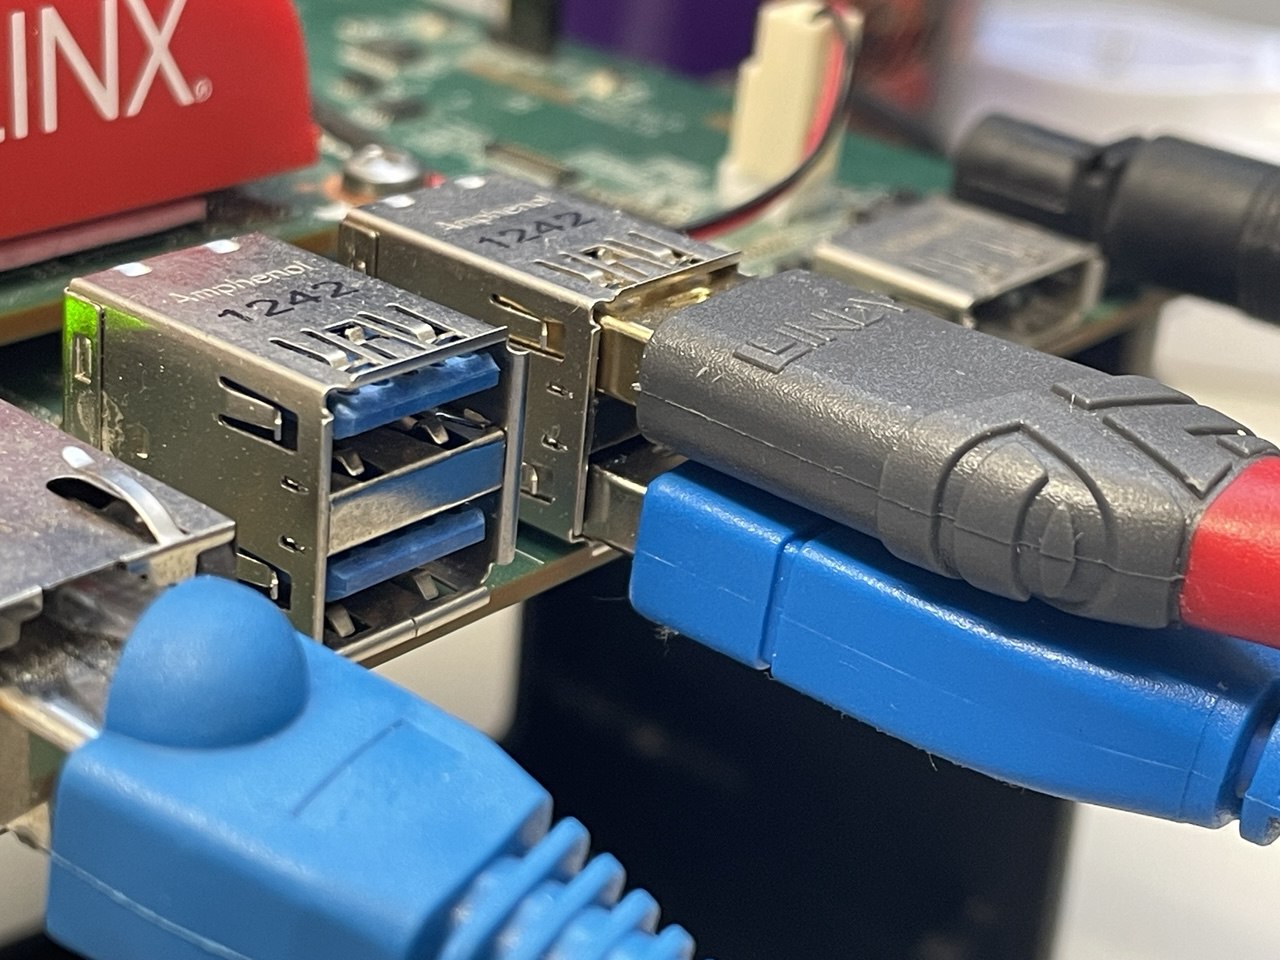
Fig. 3 - USB Connections AMD Kria™ KV260
and connect also them to the SmartLock Box
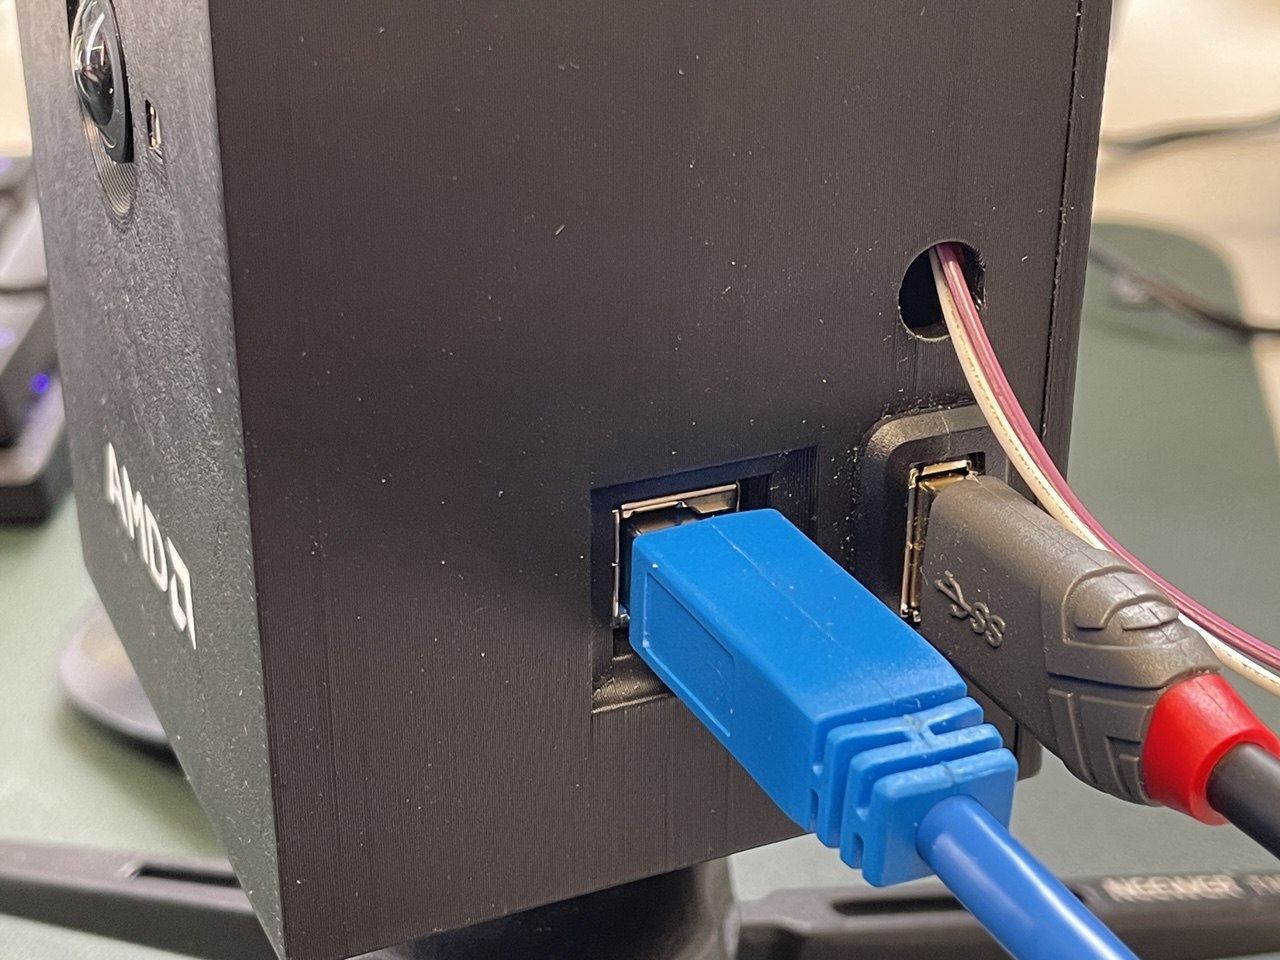
Fig. 4 - USB Connections SmartLock Box
Now, you must wait the onsemi camera to be ready (it takes more or less 10 seconds) before continue.
PMOD Connections
Then, connect the white and purple cables to the PMOD. Insert the PMOD connectors following the white piece of tape on the PMOD feet on the AMD Kria™ KV260, as shown in the following figure.
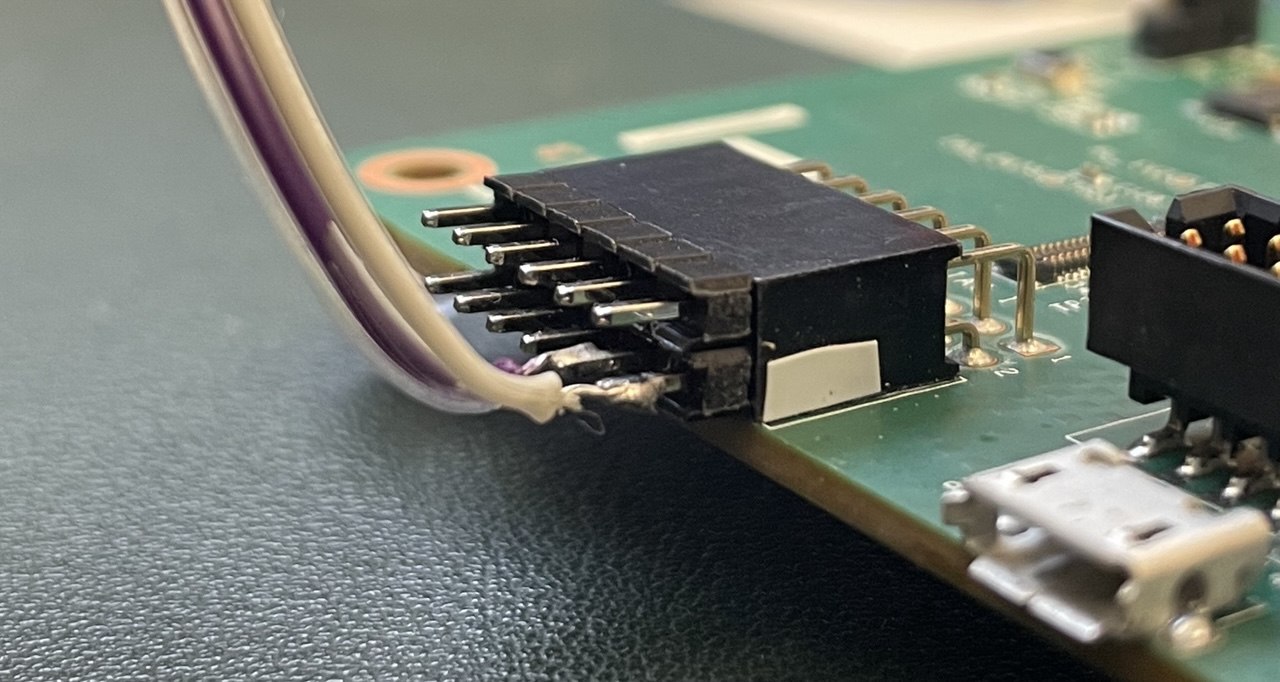
Fig. 5 - PMOD Connections
At this step, you are ready to run the SmartLock Core solution! Go next to know how to do so.